
Are you ready to dive into the vibrant world of epoxy resins? These versatile materials have taken the art and craft scene by storm, transforming ordinary projects into stunning masterpieces. Whether you’re an experienced artist or a crafty DIY enthusiast, understanding epoxy resin can unlock new creative possibilities for your work.
Imagine creating glossy finishes that enhance colors and add depth to your artwork. Picture using resin to encapsulate cherished items, turning them into unforgettable keepsakes. The allure of epoxy resins lies not just in their aesthetic appeal but also in their strength and durability.
Join us as we explore everything from what epoxy resins are, how they function, and why they should be a staple in your crafting toolbox. Let’s embark on this artistic journey together!
What are Epoxy Resins and How Do They Work
Epoxy resins are synthetic polymers formed through a chemical reaction between an epoxide and a hardener. This process creates a strong, durable material that can be used in various applications, from construction to art.
When mixed properly, the two components undergo a curing process. During this transformation, they change from a liquid state into a solid form. The result is an incredibly resilient substance that bonds well to different surfaces.
One of the unique features of epoxy resins is their ability to retain clarity when cured. This allows colors and embedded objects within the resin to shine through beautifully.
Their versatility makes them suitable for both large-scale projects and intricate details in smaller crafts. Whether you’re sealing artwork or creating jewelry, understanding how epoxy resins work opens up endless creative possibilities.
Benefits of Using Epoxy Resins for Art & Craft Projects
Epoxy resins are a game changer for artists and crafters. Their versatility opens doors to endless creative possibilities. Whether you’re casting, coating, or encapsulating, epoxy provides a crystal-clear finish that enhances colors and details.
One major benefit is durability. Once cured, epoxy resins resist scratches and UV damage. This means your art remains vibrant over time without fading or yellowing.
Another advantage is the ease of use. Most formulations require simple mixing of two components—resin and hardener—and they cure at room temperature. This user-friendly approach makes them accessible for both beginners and seasoned artisans.
Furthermore, epoxy allows for impressive depth effects in resin pours or layers. It can create stunning waves in ocean scenes or even mimic the look of polished marble when used creatively.
The non-toxic options available on the market ensure safety while working on projects indoors as well, making it an ideal choice for home crafting sessions.
Different Types of Epoxy Resins Available
When exploring epoxy resins, you’ll find a variety of options tailored for different applications.
Clear epoxy resin is popular among artists. It dries crystal-clear and enhances the beauty of embedded items like flowers or photographs.
Colored epoxy resins come in vibrant hues. They allow crafters to add a personal touch to their projects and unleash creativity.
Deep pour epoxy is designed for thicker layers, making it ideal for river tables and encapsulating larger objects. Its unique formulation ensures even curing without bubbles.
Flexible epoxy resins offer added durability, perfect for projects requiring some give, such as jewelry-making or crafts that might bend or twist over time.
Each type serves distinct purposes, catering to various artistic expressions while providing strength and longevity in your creations.
How to Choose the Right Epoxy Resin for Your Project
Choosing the right epoxy resin for your project is essential to achieving the desired results. Start by considering the specific type of art or craft you’re undertaking. Some resins are better suited for jewelry, while others excel in coating surfaces.
Next, think about curing time. Fast-curing resins can be great for quick projects, but slower options allow more time to manipulate and work with designs.
Pay attention to viscosity as well; a thicker resin may give more dimension but can also be harder to spread evenly.
Don’t overlook safety features either—look for low-odor and non-toxic options if you plan on working indoors or around children.
Check user reviews and product specifications before making a decision. This helps ensure that you select an epoxy resin that meets your creative vision while providing ease of use.
Step-by-Step Guide for Using Epoxy Resin in Art & Craft Projects
When it comes to using epoxy resin in your art and craft projects, following a clear step-by-step guide can make the process smooth and enjoyable. Here’s how you can get started.
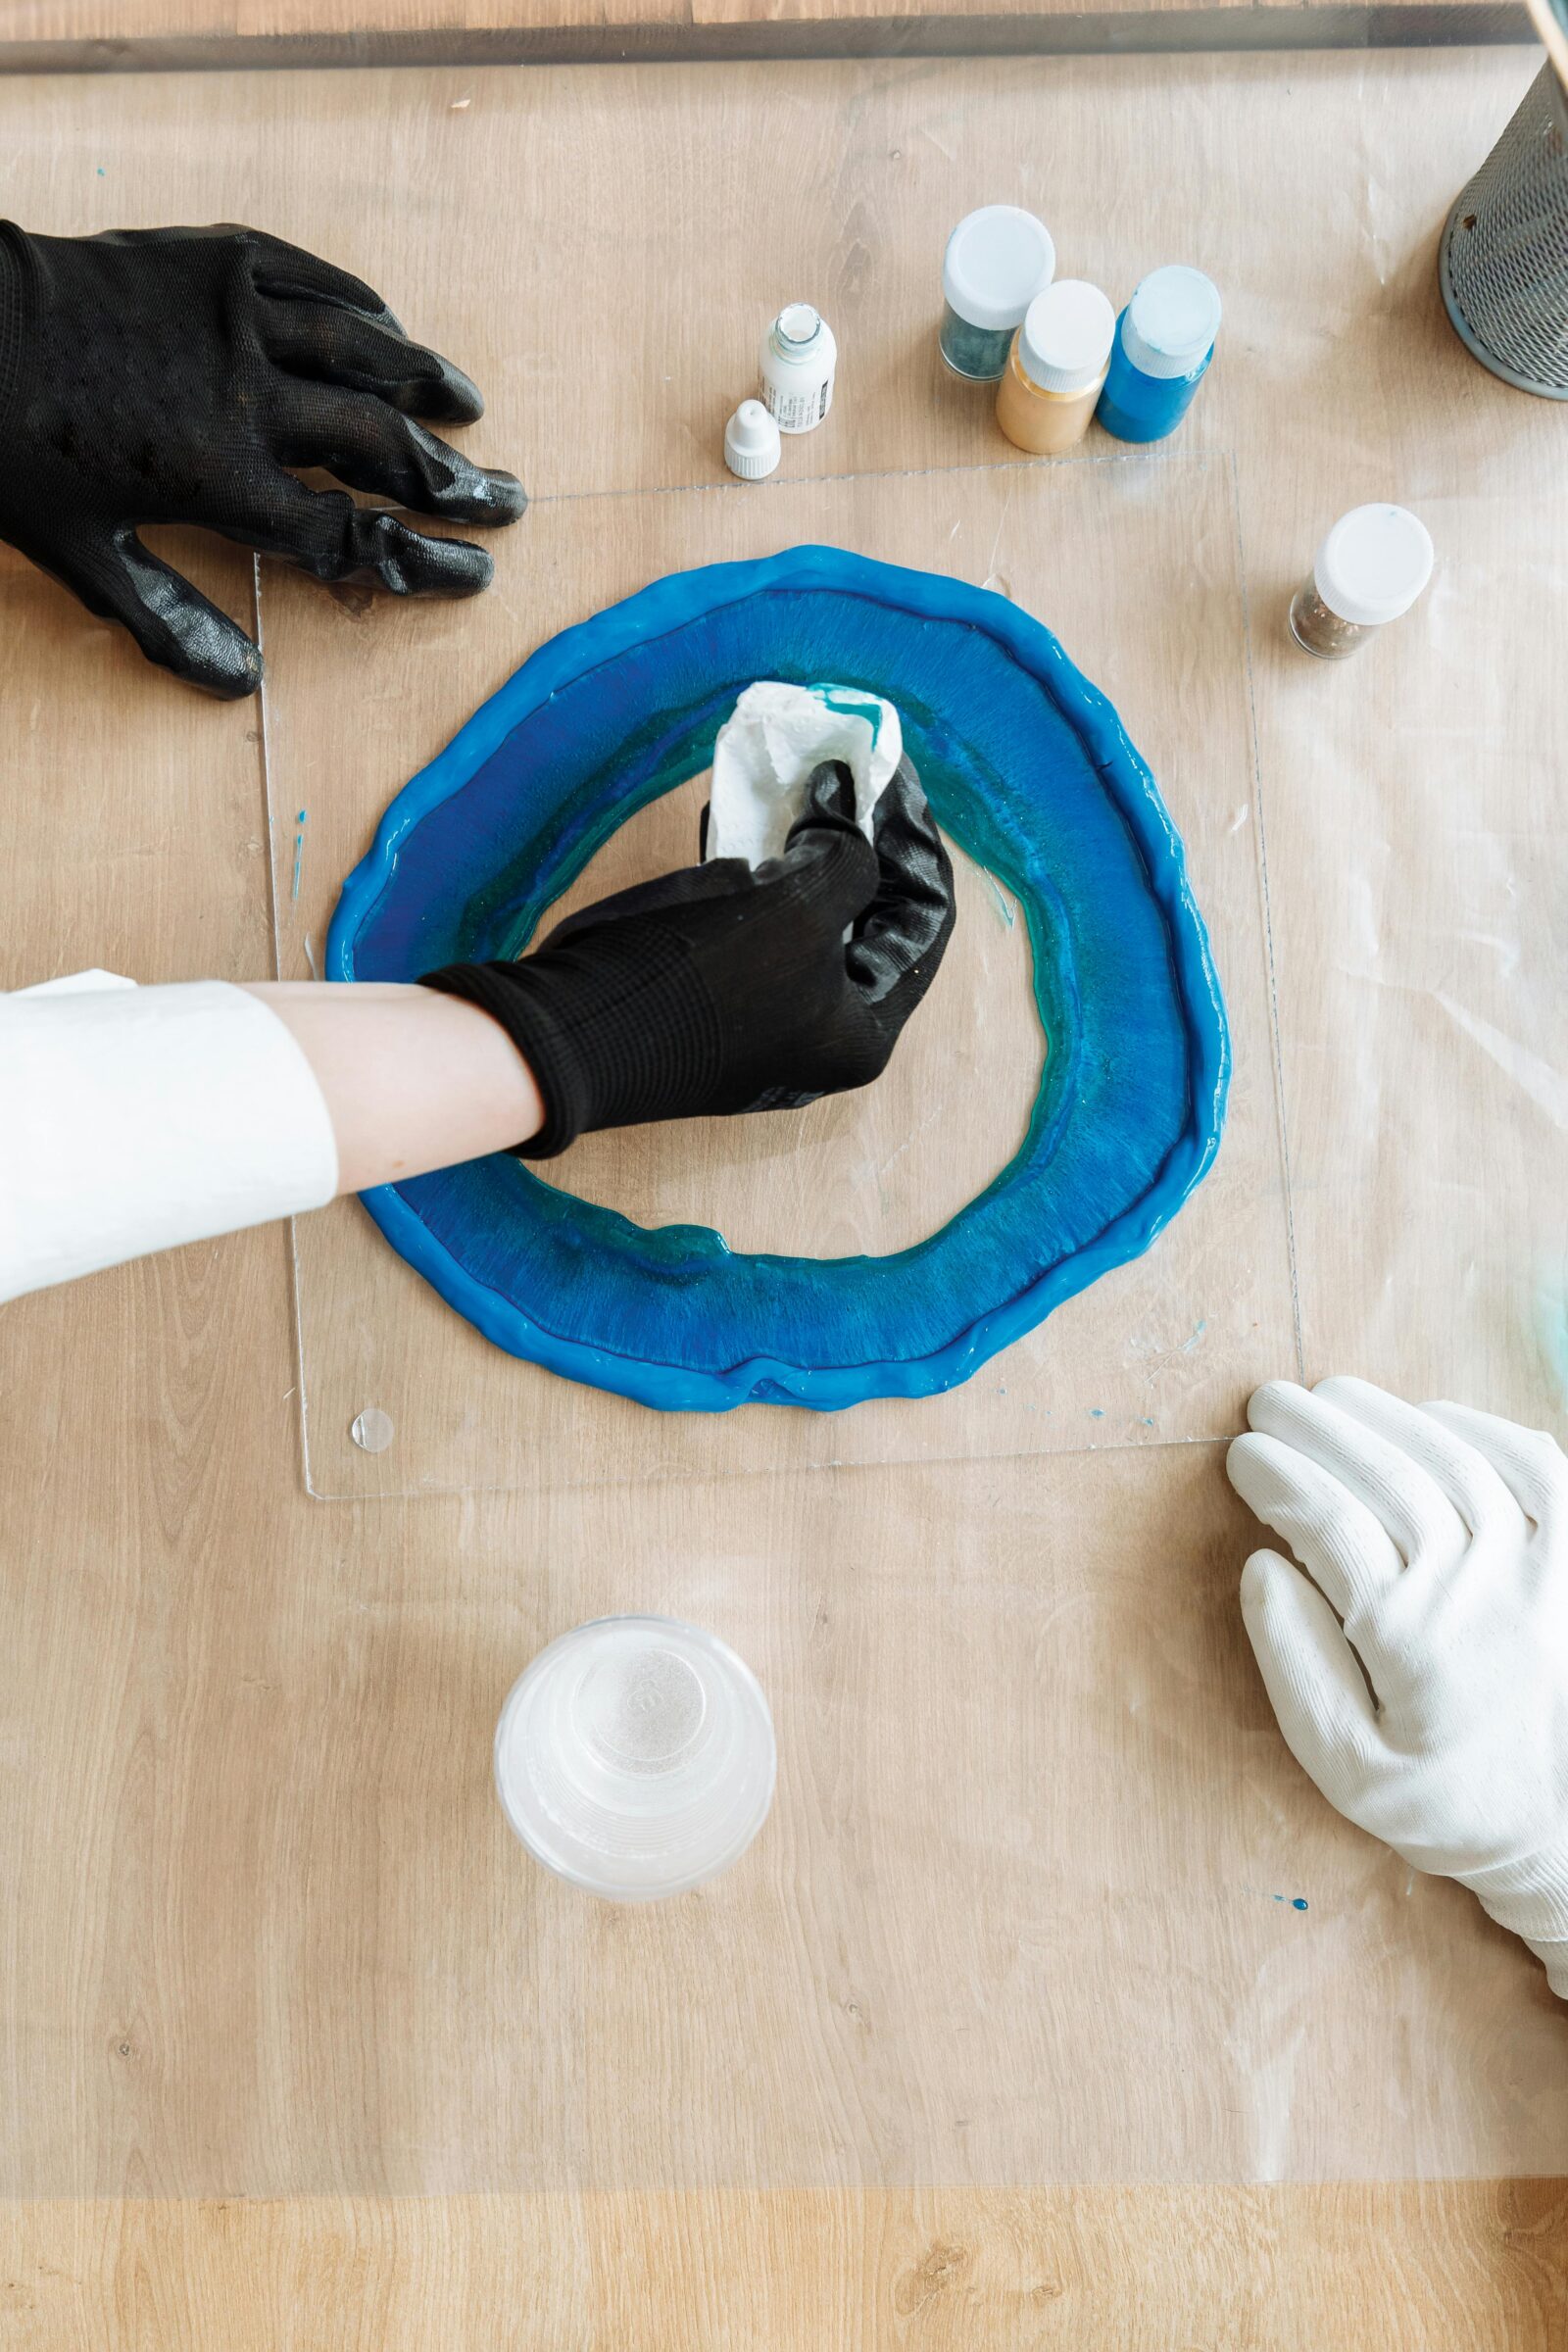
First, gather all of your materials. You’ll need epoxy resin, hardener, mixing cups, a stir stick, gloves, and any pigments or additives you wish to use. Make sure you’re working in a well-ventilated area for safety.
Next, prepare your workspace. Lay down plastic sheeting or newspapers to protect surfaces from spills. Having everything organized will keep distractions at bay as you work with this medium.
Now it’s time to mix the epoxy resin and hardener according to the manufacturer’s instructions. Usually, this involves combining equal parts by volume but always double-check specific ratios on the packaging. Stir well for about three minutes until there are no streaks left; bubbles may form during mixing but they usually dissipate while curing.
If you’d like to add colors or effects into your resin pour now is the moment! Incorporate pigments slowly while continuing to stir gently so that air bubbles do not get trapped inside.
Once mixed thoroughly, pour the epoxy carefully into your mold or onto your project surface. Pouring from one side allows for smoother flow without creating too many air pockets underneath.
Give it time—resin needs several hours (or even overnight) to cure fully depending on thickness and environmental conditions like humidity and temperature. Avoid touching it during this phase; patience is key here!
After curing has completed, inspect your piece for any imperfections such as bubbles or uneven areas. If needed, lightly sand down these spots once dry but be cautious not to disturb surrounding areas unless required.
Finally—the best part—add finishing touches! Once satisfied with its appearance after sanding if necessary consider applying additional coats of clear topcoat if desired for extra shine and durability.
Utilizing high-quality epoxy resins opens up endless creative possibilities in art and crafts when approached methodically through each step described above.


Leave a comment