
Epoxy resin has taken the crafting and DIY world by storm, captivating both novices and seasoned pros alike. Whether you’re looking to create stunning artwork, durable surfaces, or intricate jewelry pieces, an epoxy resin kit is your gateway to endless creativity. But with a plethora of options available on the market today, how do you choose the right one for your project?
Fear not! This comprehensive review will guide you through everything you need to know about epoxy resin kits—ideal for both beginners diving into their first projects and professionals seeking high-quality materials for complex endeavors. From understanding what epoxy resin is to discovering our top five recommendations, you’ll be equipped with all the knowledge you need to embark on your next creative journey. Let’s get started!
What is Epoxy Resin and how it works
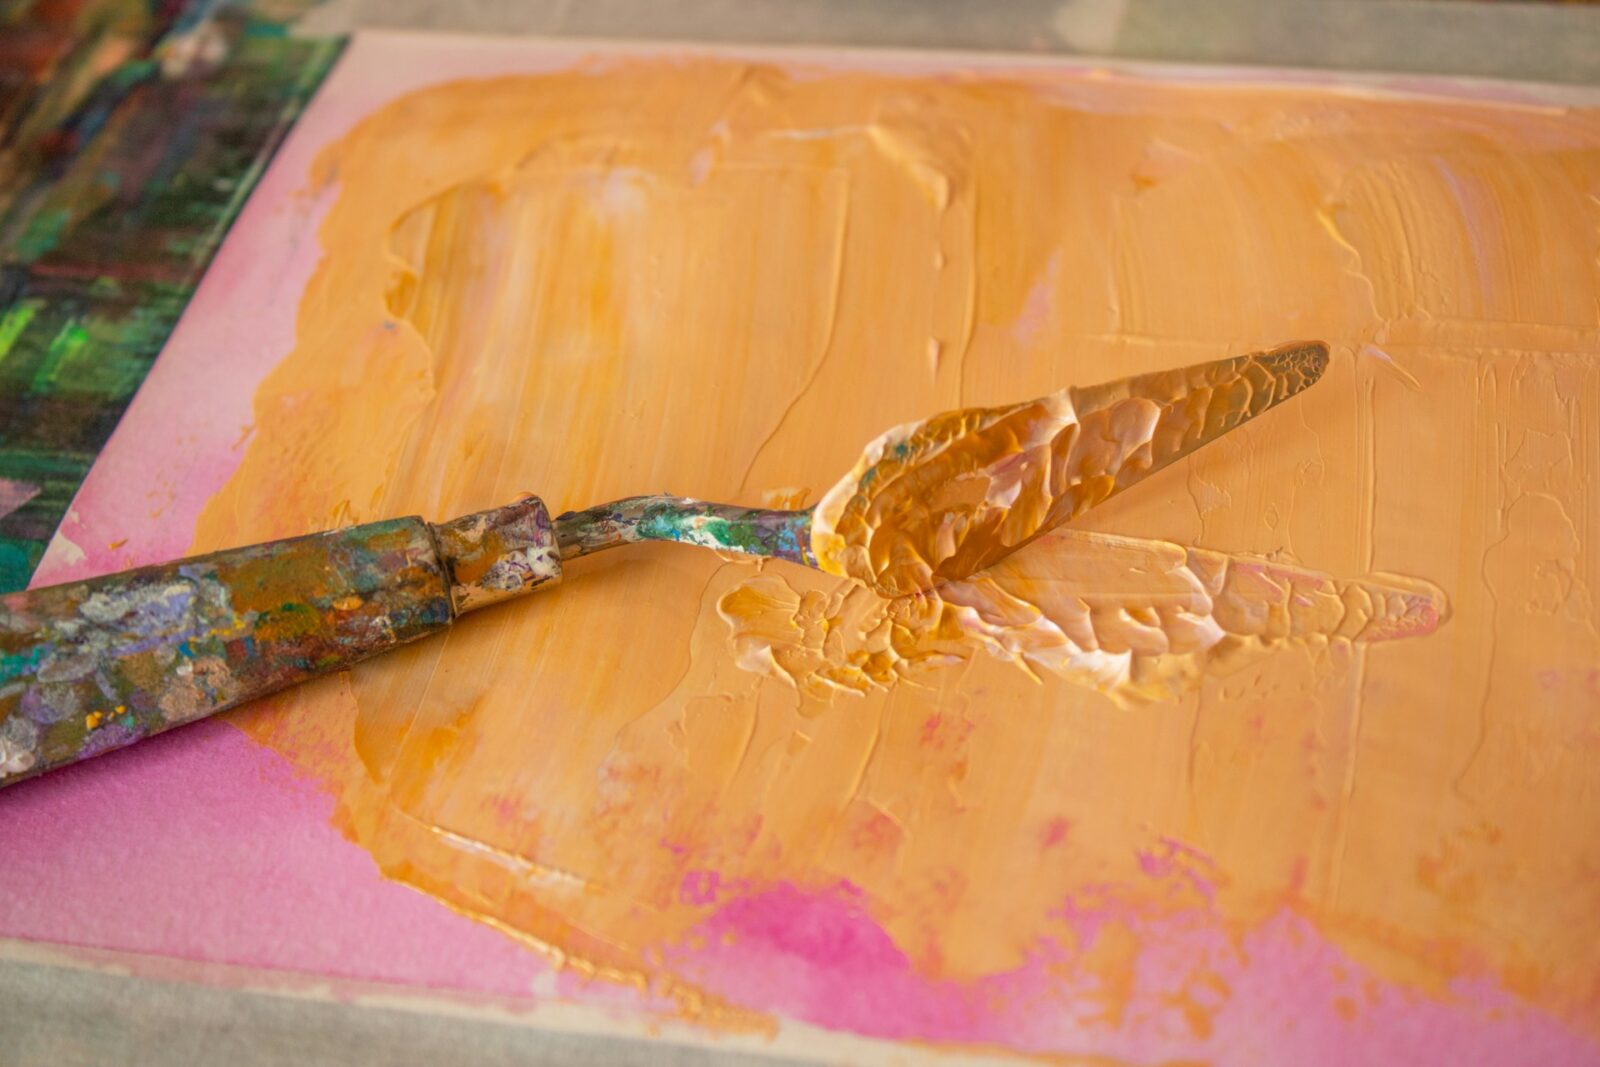
Epoxy resin is a versatile synthetic polymer known for its adhesive properties and durability. It’s created through a chemical reaction between two components: epoxy resin and hardener. When these elements are mixed, they undergo a curing process that transforms the liquid into a solid state.
This unique characteristic allows epoxy to bond well with various surfaces, making it ideal for countless applications. From creating glossy finishes on furniture to embedding objects in artistic pieces, its uses are limited only by your imagination.
The beauty of epoxy lies in its clarity and ability to be tinted with colors or pigments. Once cured, it becomes resistant to moisture, chemicals, and UV light—a feature that enhances longevity in projects exposed to the elements. Understanding this chemistry opens up endless possibilities for creativity and innovation in your crafting endeavors.
Types of Epoxy Resin Kits
epoxy resin kit come in various types, catering to different projects and skill levels. Each type offers unique characteristics that can enhance your crafting experience.
Artistic epoxy resin kits are popular among artists and hobbyists. They often include vibrant pigments, glitter, and molds for creative applications like jewelry making or artwork.
For those interested in home improvement, clear casting epoxy kits are ideal. These allow you to create durable surfaces for tabletops or countertops while showcasing the beauty of wood grains beneath.
If you’re looking for a more industrial use, consider marine-grade epoxy kits. Designed for boat repairs and outdoor applications, they resist moisture and provide superior bonding strength.
There are specialty kits tailored for specific tasks such as river tables or coasters. These come with everything needed to achieve stunning results without needing extensive prior knowledge.
Factors to Consider When Choosing an Epoxy Resin Kit
When selecting an epoxy resin kit, it’s essential to consider the project’s requirements. Think about the viscosity of the resin. A thinner consistency is better for coating surfaces, while a thicker one works well for casting.
Next, take into account curing time. Some kits cure quickly, which can be great for fast-paced projects, but others require longer setting periods that allow more working time.
Quality matters too. Look for brands with positive reviews and reliable customer support. This can make a significant difference in your experience.
Don’t forget safety features as well. Ensure that you select a kit with low odor and minimal volatile organic compounds (VOCs) if you’re working indoors.
Check the included tools and accessories like mixing cups or stir sticks; these extras enhance convenience and help achieve better results on every endeavor you undertake with your epoxy resin kit.
Top 5 Epoxy Resin Kits Features and Benefits
When choosing an epoxy resin kit, it’s essential to consider the features that will best suit your project needs. The first standout feature is clarity. High-quality kits provide crystal-clear finishes, perfect for showcasing embedded items or achieving a glass-like appearance.
Another important aspect is curing time. Some kits offer fast curing options, allowing you to complete projects in record time without compromising quality.
Versatility is also key. Look for kits designed for various applications—whether crafting coasters, jewelry making, or creating art pieces—to give you flexibility across different projects.
Ease of use cannot be overlooked either. User-friendly instructions and pre-measured components simplify mixing and pouring processes, especially beneficial for beginners.
Safety features are vital. Kits with low toxicity ingredients help ensure a safer working environment while still achieving stunning results.
Step-by-Step Guide to Using an Epoxy Resin Kit
Using an epoxy resin kit can be exciting and rewarding. Start by gathering all your supplies: resin, hardener, mixing tools, gloves, and a protective workspace.
Begin with the mixing process. Carefully measure equal parts of resin and hardener according to the manufacturer’s instructions. Pour them into a clean cup and stir thoroughly for several minutes until you achieve a clear mixture.
Next, prepare your mold or surface. Ensure it’s clean and free from dust or debris. If you’re adding color or glitter, now is the time to mix those in gently.
Pour the resin slowly into your mold to avoid bubbles forming. Use a heat gun or torch lightly over the surface if any bubbles appear; they should pop quickly under heat.
Allow ample curing time as per guidelines—this varies depending on the product used. Keep it undisturbed during this period for optimal results.
Tips and Tricks for Beginners
When diving into the world of epoxy resin, starting off on the right foot can make all the difference. Here are some practical tips and tricks to enhance your experience with an epoxy resin kit.
First, preparation is key. Ensure you work in a well-ventilated area to avoid inhaling fumes. Lay down protective coverings over surfaces to catch any spills or drips.
Before mixing, read through the instructions thoroughly. Each epoxy resin kit may have different ratios for mixing components A and B. Accurate measurements lead to better results.
Additionally, consider temperature and humidity levels when working with resin. Ideal conditions usually range around 70°F (21°C) with low humidity for optimal curing times and clarity.
While pouring your mixture, do it slowly and steadily to minimize bubbles forming in your project. If bubbles do appear after pouring, using a heat gun or torch held at a distance can help pop them without damaging your piece.
Don’t rush the curing process; patience is crucial here! Allow enough time for full hardening before handling or finishing touches—this could take anywhere from several hours up to days depending on specific product guidelines.
Practice makes perfect! Start with small projects as you familiarize yourself with techniques before moving onto more complex creations.
By keeping these tips in mind while using an epoxy resin kit, you’ll be set up for success whether you’re just getting started or refining your skills further down the line. Happy crafting!


Leave a comment